How to Do the Rack Pull with Bands
Add the Rack Pull with Bands to a workout plan built for you. NYUS builds a workout plan from your goal, body and schedule. It is in early access on Android: join the list to get in.
Join early access for your plan30-day free trial, then plans from ₹499 for one month, paid once, no auto-renewal.
💪 Lower Back, Forearms, Glutes, Hamstrings, Quadriceps, Traps🏋️ Barbell📊 Intermediate🏷️ Powerlifting
How to perform it
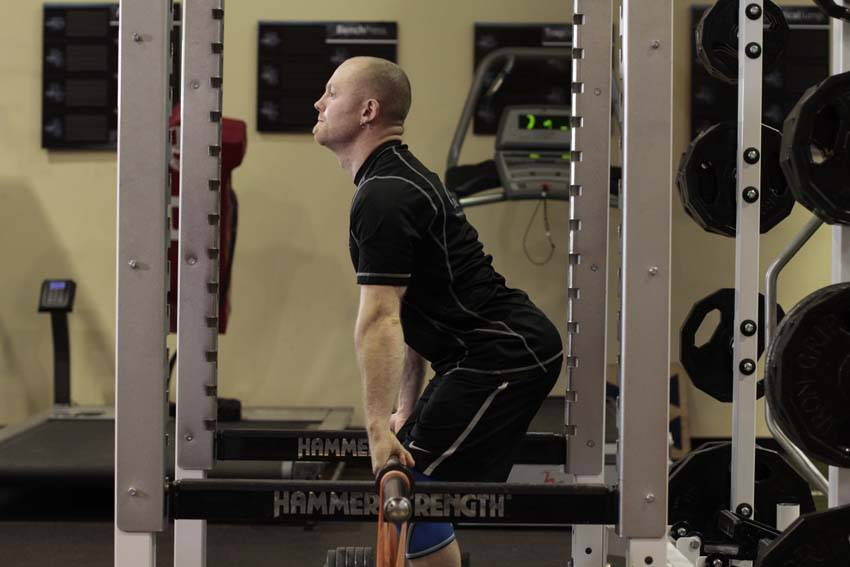
- Set up in a power rack with the bar on the pins. The pins should be set to the desired point; just below the knees, just above, or in the mid thigh position. Attach bands to the base of the rack, or secure them with dumbbells. Attach the other end to the bar. You may need to choke the bands to provide tension.
- Position yourself against the bar in proper deadlifting position. Your feet should be under your hips, your grip shoulder width, back arched, and hips back to engage the hamstrings. Since the weight is typically heavy, you may use a mixed grip, a hook grip, or use straps to aid in holding the weight.
- With your head looking forward, extend through the hips and knees, pulling the weight up and back until lockout. Be sure to pull your shoulders back as you complete the movement. Return the weight to the pins and repeat.
Muscles worked
The Rack Pull with Bands primarily targets your Lower Back, with support from your Forearms, Glutes, Hamstrings, Quadriceps, Traps. You'll need barbell.
Make it count toward your goal
Random sets rarely move the needle. In NYUS, the Rack Pull with Bands slots into a plan built for your goal — sets and reps set in the plan, logged in two taps, and folded into a weekly check-in that adjusts your calories, macros and step goal.